Introduction:
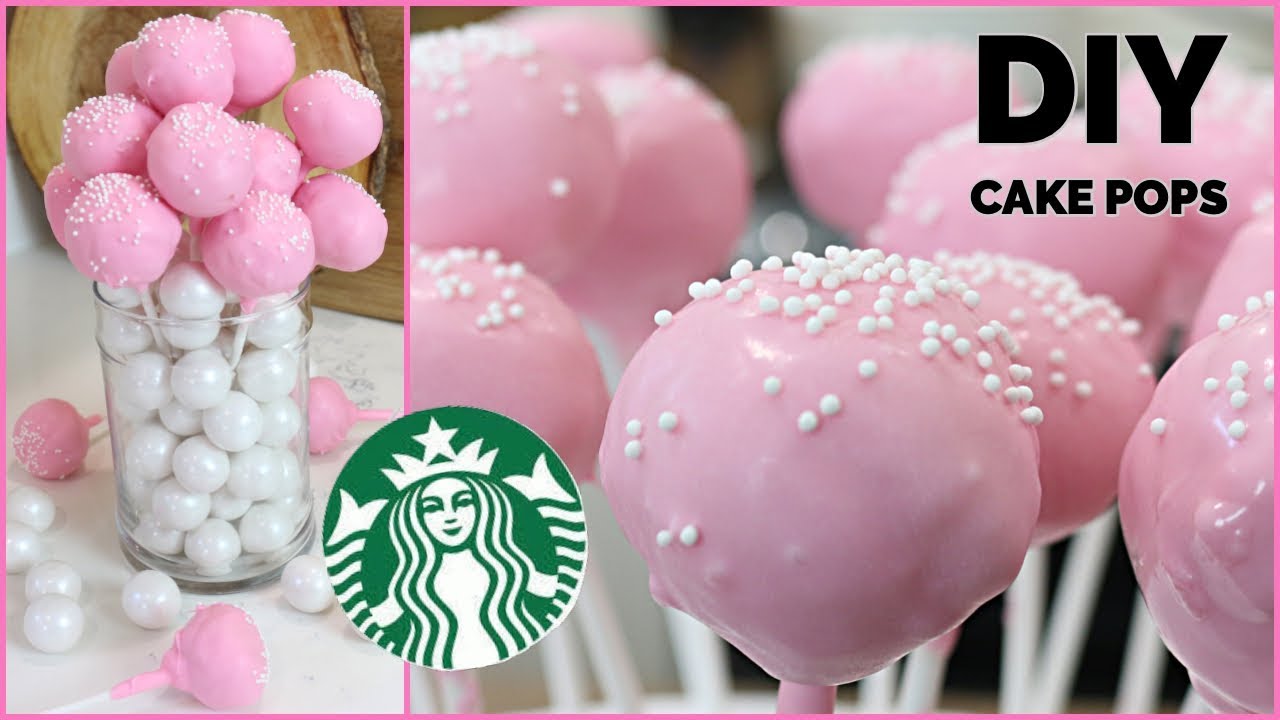
Indulging in the sweet symphony of flavors and textures is a joyous experience, and what better way to elevate your dessert game than with homemade cake pops? These delectable treats are not only a visual delight but also a burst of flavors that can satisfy any sweet tooth. In this article, we will embark on a delightful journey into the world of crafting cake pops, exploring the steps, tips, and creative twists that make this homemade treat a showstopper at any gathering.

Unwrapping the Magic of Homemade Cake Pops Creating homemade cake pops is akin to unraveling a magic spell. The ingredients are simple, and the process, though meticulous, promises a rewarding outcome that will leave you and your guests in awe.
Ingredients – The Building Blocks of Sweet Success Gather around the kitchen counter, and let’s dive into the essential ingredients that lay the foundation for these bite-sized wonders. Flour, sugar, eggs, and a pinch of love – the secret recipe lies in the perfect blend of these basics.
The Art of Baking – A Golden Brown Canvas The heart of every cake pop lies in the cake itself. Explore the art of baking as we guide you through the steps to achieve that golden brown perfection. A moist and flavorful cake is the key to unlocking the true potential of your homemade treats.

Crumbling the Obstacles – Cake Crumbling Technique Ever wondered how to achieve that ideal cake crumb consistency for your pops? Fear not! We’ll unravel the mystery behind the perfect cake crumble, ensuring a smooth and easy molding process for your cake pops.
Lollipop Love – Inserting the Sticks with Style Watch as your cake crumbles transform into charming spheres on a stick. Learn the tricks to insert the sticks with style, turning your cake pops into handheld works of art that are as delightful to look at as they are to devour.
Dipping Into Decadence – Mastering the Chocolate Coating The chocolate coating is the cloak of decadence that wraps around your cake pops. Dive into the art of melting and coating, mastering the technique to achieve a smooth, glossy finish that will make your cake pops irresistible.
Sprinkle of Creativity – Decorating Your Cake Pops Now comes the fun part – decorating your cake pops! From colorful sprinkles to drizzled chocolate, explore the myriad of creative possibilities that turn your cake pops into personalized masterpieces.
Storing and Serving – Keeping the Magic Alive Discover the best ways to store and serve your cake pops, ensuring that the magic and freshness linger until the very last bite. Whether for a party or a personal treat, the presentation is key to making these delightful pops even more enjoyable.
Conclusion – Celebrate the Sweet Success of Homemade Cake Pops In conclusion, crafting homemade cake pops is not just a culinary endeavor; it’s a celebration of creativity and sweetness. From the first crumb to the last sprinkle, each step in the process is a testament to the joy of creating and indulging in delightful desserts.
FAQs:
Q1: Can I use any cake flavor for cake pops? Certainly! The beauty of homemade cake pops lies in the versatility. Experiment with your favorite cake flavors to create a diverse array of pops.
Q2: How do I prevent my cake pops from falling off the sticks? Ensure your cake balls are chilled before inserting the sticks. This helps them adhere better, reducing the risk of falling off during the coating process.
Q3: Can I make cake pops in advance for a party? Absolutely! Prepare your cake pops ahead of time and store them in an airtight container in the refrigerator. Bring them to room temperature before serving for the best taste and texture.
Q4: What’s the best chocolate for coating cake pops? Opt for high-quality chocolate or candy melts, as they melt smoothly and provide a glossy finish. Dark, milk, or white chocolate – the choice is yours!
Q5: Can I freeze leftover cake pops? Yes, you can freeze cake pops for later enjoyment. Ensure they are well-wrapped to prevent freezer burn and thaw them in the refrigerator before serving.