
Introduction:
Craving a burst of apple goodness in a bite-sized treat? Look no further! In this article, we’ll dive into the delightful world of mini apple pies. Whether you’re a seasoned baker or a kitchen novice, this recipe promises a mouthwatering experience that’s easy to achieve. So, roll up your sleeves and get ready to create these mini wonders that are perfect for any occasion.
Why Mini Apple Pies Are a Game-Changer

Imagine the warm aroma of cinnamon and apples wafting through your kitchen – that’s the magic of mini apple pies. These bite-sized delights offer a convenient way to enjoy the classic flavors of apple pie without the fuss of slicing and serving.
Gathering Your Ingredients: Simplicity at Its Best


Before we start, let’s gather our troops – the ingredients. The beauty of this recipe lies in its simplicity. You’ll need fresh apples, sugar, cinnamon, butter, and pre-made pie crusts. These readily available ingredients make this recipe perfect for impromptu baking sessions.
Prepping the Apples: A Symphony of Flavors

The secret to a perfect mini apple pie is in the apples. Peel, core, and dice your apples into small, uniform pieces. Toss them in a bowl with sugar and cinnamon, creating a symphony of flavors that will elevate your mini pies to new heights.

Rolling Out the Pie Crust: Keep It Simple and Stress-Free
Don’t stress about making the perfect pie crust from scratch. Grab a pre-made crust from your local grocery store, and roll it out on a floured surface. This step is all about keeping things simple and efficient.
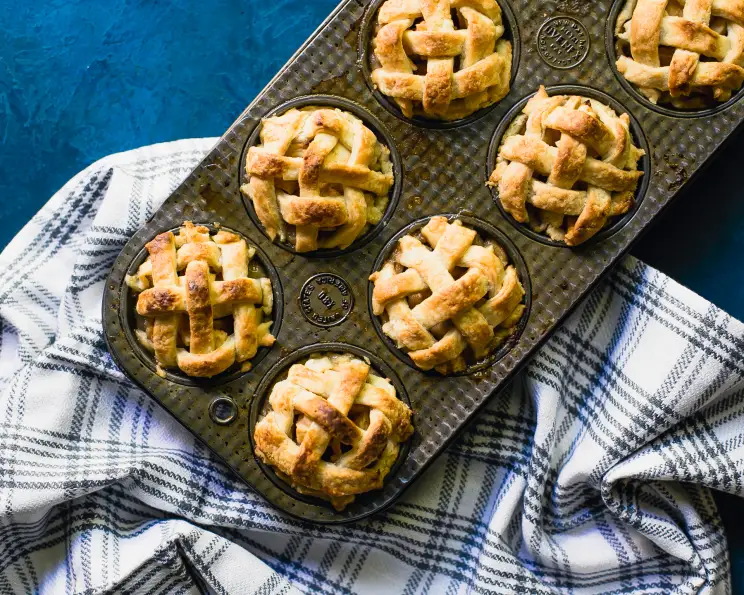
Assembling Your Mini Masterpieces: A Creative Endeavor
Now comes the fun part – assembling your mini apple pies. Cut out small circles from the pie crust, place a spoonful of your apple mixture in the center, and fold them into adorable half-moon shapes. It’s like creating edible works of art in your kitchen!
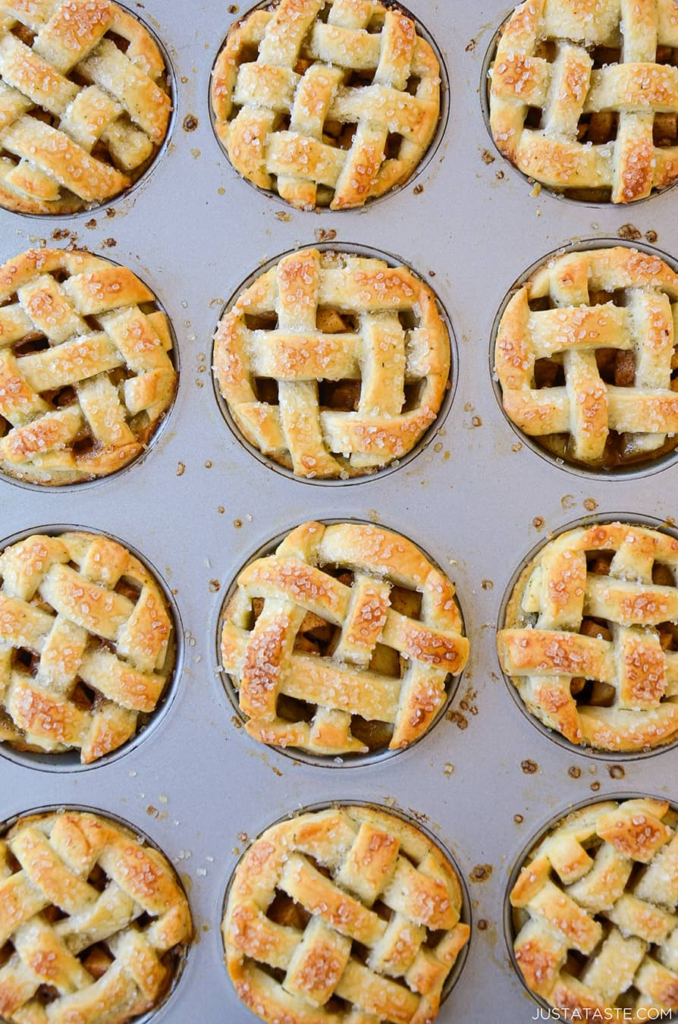
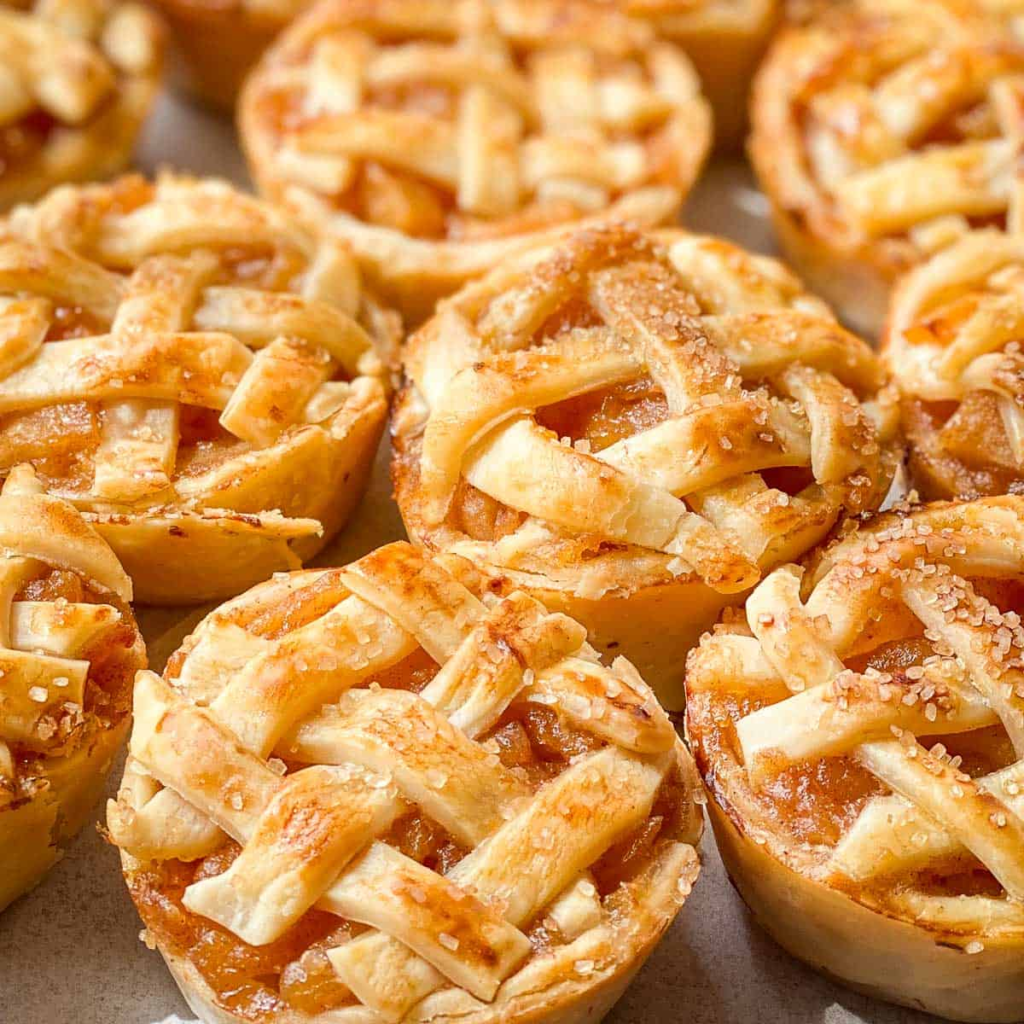
The Baking Process: A Symphony of Aromas

Preheat your oven and let the symphony of aromas begin. As your mini apple pies bake, your kitchen will transform into a fragrant wonderland. The golden-brown crust will entice you as it promises a flaky and delicious outcome.
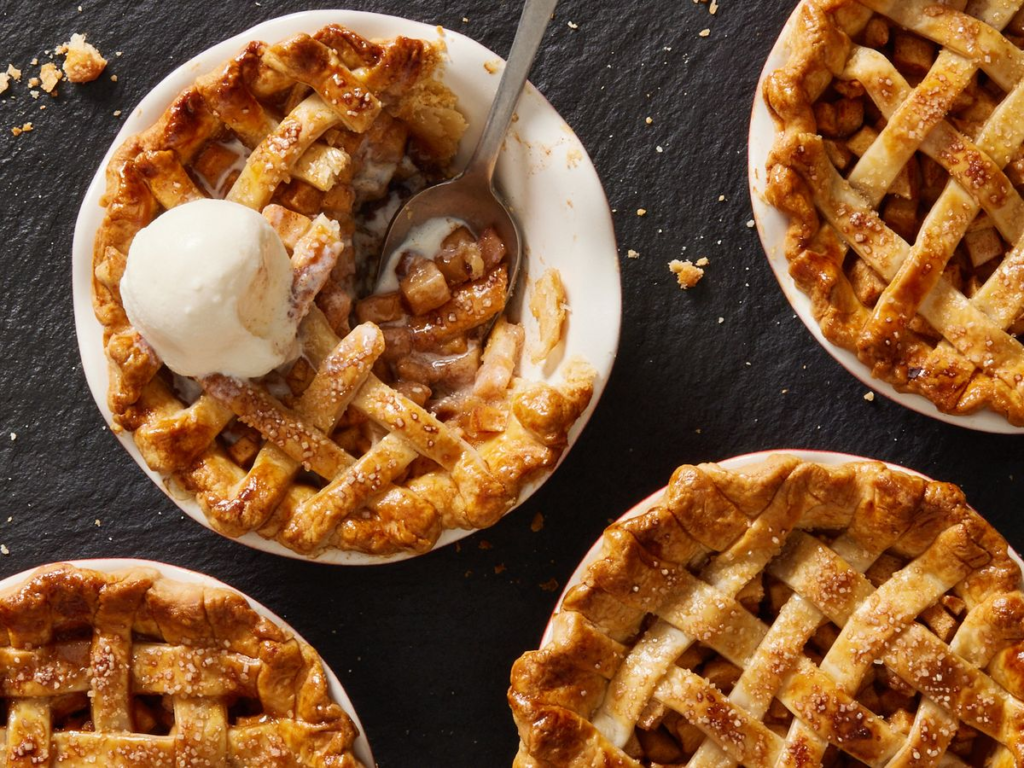
Serving Suggestions: Whipped Cream or Ice Cream? You Decide!

Once your mini apple pies are out of the oven, the big question is: how will you serve them? Top with a dollop of freshly whipped cream or a scoop of vanilla ice cream for an extra touch of indulgence. The options are as endless as your creativity.
Why Mini Apple Pies Are Perfect for Every Occasion: A Versatile Treat
Mini apple pies aren’t just for dessert tables. Their bite-sized nature makes them perfect for parties, potlucks, or even as a sweet snack during a movie night. They’re versatile and can adapt to any occasion, bringing joy to every bite.
Conclusion: A Culinary Adventure in Every Bite
In conclusion, these mini apple pies are more than just a recipe; they’re a culinary adventure waiting to unfold in every bite. Simple, versatile, and utterly delicious – they’re the epitome of homemade goodness. So, gather your ingredients, preheat the oven, and embark on a journey of flavors with these delightful mini apple pies.
FAQs:
Q1: Can I use store-bought apple pie filling for this recipe?
Absolutely! While making your filling adds a personal touch, store-bought apple pie filling can save time without compromising taste.
Q2: Can I freeze the mini apple pies for later?
Yes, you can! Once baked and cooled, store them in an airtight container in the freezer. Reheat in the oven for a quick and delightful treat.
Q3: Can I substitute other fruits for apples in this recipe?
While the focus is on apples, feel free to experiment with other fruits like pears or berries. Just adjust the sugar and spices accordingly.
Q4: How do I prevent the crust from becoming soggy?
To avoid a soggy crust, blind bake the pie crusts for a few minutes before adding the apple filling. This creates a barrier that keeps the crust crisp.
Q5: Can I make these mini apple pies ahead of time for a party?
Absolutely! Bake the pies a day in advance, store them in the refrigerator, and reheat in the oven just before serving for a fresh-out-of-the-oven experience.